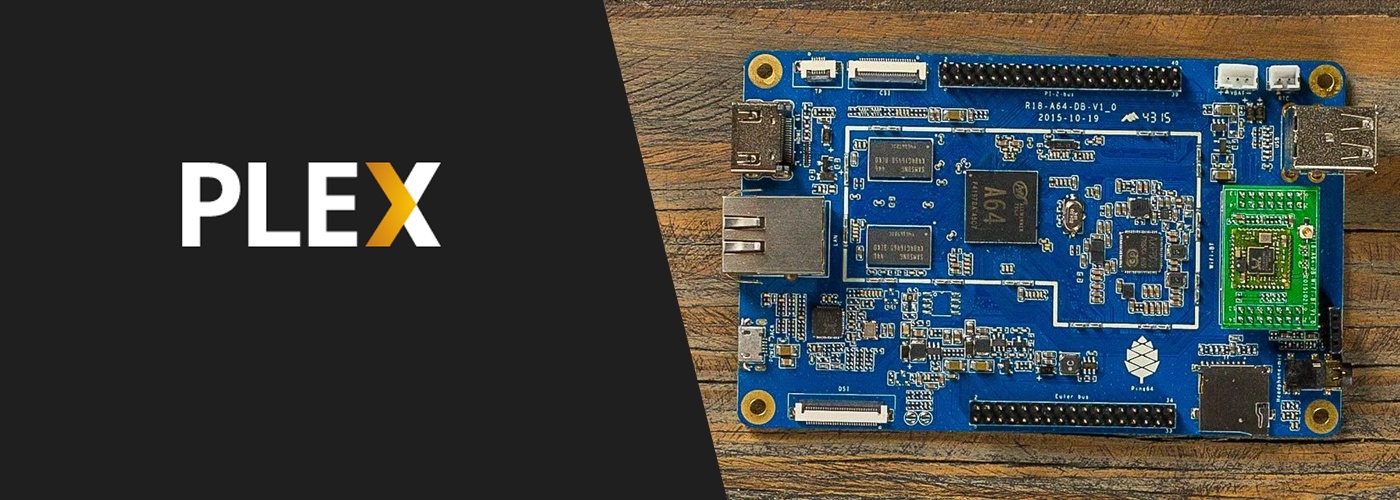
Plex Server + Pine64, How to create a $15 Media server
Well, it was a bit more than $15 but still probably the cheapest Plex server around!
Wan't to jump straight to the "How do I do it" then click here. Otherwise, continue reading for a bit about Plex and the Pine64.
What is Plex?
At its heart, Plex is a program that manages all your movies, tv, photos and music. You point it at a folder, and tell it what is in that folder (eg. movies) and it will go forth and scan that folder for content, it will then catalog all that content in an organised and beautiful fashion. It downloads posters, fanart and any metadata it can find like description, year, cast, etc. I think Plex is amazing and essential for anyone who loves consuming media. Think of it sort of like Netflix for your own content.
The two main parts of Plex
The Server
This looks after the media library and sits quietly in the background keeping track of everything and updating the library as you copy new content into your media folders. The server provides a great web interface for both managing your library, but also the ability to consume your media via a web player. So from any where in the world you can stream that movie, or listen to that song direct from a hard drive in your house.
The Clients
Clients connect to your server and provide ways to play your media on almost any platform or device you can think of. You can get Plex clients for your Smart tv, Android, iOS, AppleTV, Windows, OSx, Playstation, Xbox and Roku to name just a few. The client connects to the server and streams your content on demand.
Plex is free!
Unless you want some of the premium features, plex will cost you nothing but a bit of setup time. Checkout plex.tv for all the other things Plex can do. And no, this is not a sponsord ad, I don't work for plex... but would love to!
What is a Pine64?
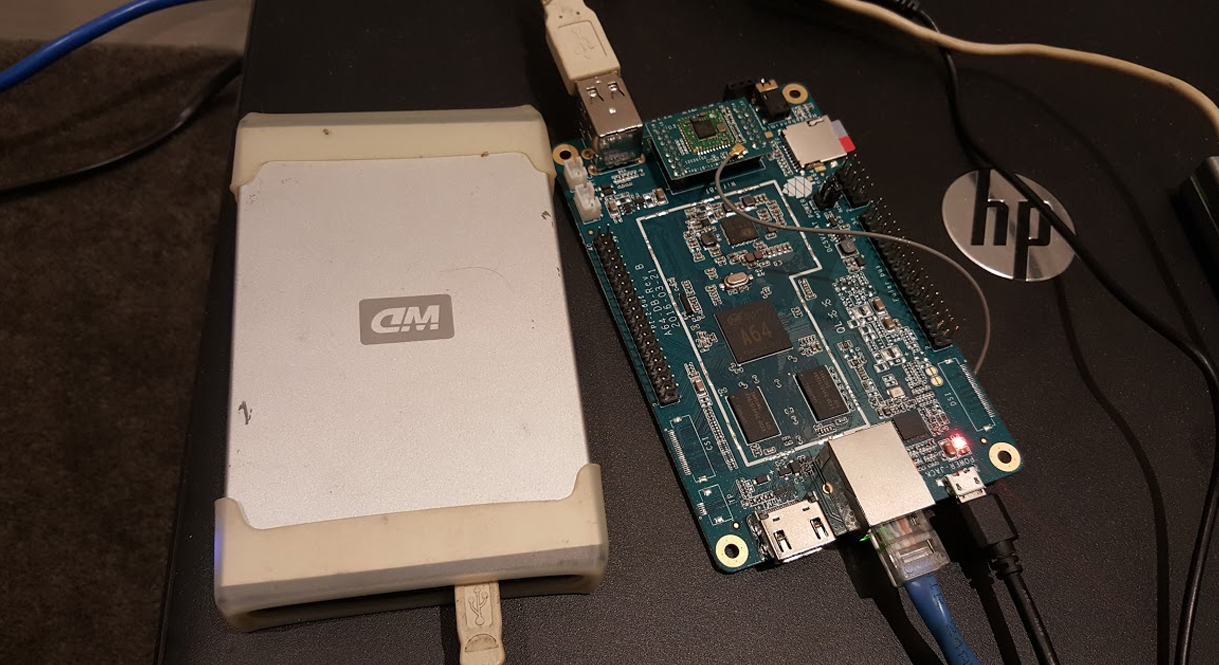
A very, very cheap computer... $15 cheap, or the cost of 2 beers at your local bar. It is quite raw, essentially a circuit board with with a bunch of ports (USB, HDMI, LAN, MicroSD) a CPU and memory. It is very similar to a Raspberry Pi but you get a bit more bang for your buck. It had a very successful Kickstarter campaign and the first round of boards are currently being shipped out to the backers.
I was one of those backers and recieved my little board of magic last week. I got the cheapest board they had A64/512MB for $15 but in hindsight, I should have sprung for the next one up A64+/1GB for $19 for some extra performance. You can buy yourself one here. Realistically it did cost me a bit more as there was $12 shipping and then the conversion from USD to AUD, so probably more like $35AUD to get it to my door, still pretty damn cheap though.
Other things you will probably need to get the Pine up and running are a MicroSD card (8GB+), MicroUSB power supply (Most phone chargers work), Keyboard, Monitor (HDMI), HDMI and LAN cables. As a seasoned nerd I of course had these bits lying around the house. There are many other accessories available in the Pine store like boxes, wifi modules, etc. But I wanted to see how far I could get for my 15 35 hard earned dollars.
After the arrival of my Pine, I was left thinking, now what do I do with this thing? It doesn't come loaded with any software the cheapest version (my version) really struggles with anything graphical (loading this site in a browser pretty much crashed it) - the more powerful versions should perform much better and have many more OS options. So my main thought was a server of some sort and what better way to get something really quite useful but build a Plex server! I could then gift it to my mum rasing my "best son in the world" points while reducing the amount of "this thing wont play" support calls.
Turning the Pine64 into a Plex server
The main barrier for plex is the setup and cost of the server, so this is how I turned my $15 Pine64 into a functional Plex server. Crushing those barriers as it is cheap, and seeing as I have laid out the instructions below it should be pretty straight forward setup. This does assume a bit of linux/command line knowledge but google can always help if you get really stuck.
A big thanks to all the people who have made this process easy, a huge amount of work was done by many people to make this a very painless process.
Make sure you substitute {myusername} with your username, and the IP I used (192.168.0.64) with your preferences.
Step 1 - Install your OS on a MicroSD card
I opted for a 16GB card, mainly because that is what I had spare, but also gives Plex lots of breathing room for storing all its metadata and posters (which grows over time). I don't recommend storing your media on the SD card, but if you are, get a card as big as possible. The OS of choice, is a headless/server version of ubuntu that is lightweight and perfect for this task.
- Download OS Image (.img.xz file) from here or read more about it here
- Extract it using 7zip (win), unxz (linux), double click (mac)
- Write the extracted .img file to your SD card, I used Win32 Disk Imager for Windows
Step 2 - Initial OS setup and maintenance
Plug in your SD card, monitor, network, keyboard, power and your Pine should spring to life. You should see a login screen.
Login with user: ubuntu and password: ubuntu - from the readme
Create a new user
adduser {myusername}Add user as admin
adduser {myusername} sudoSwitch to that user, delete the original 'ubuntu' user and set a root password.
sudo su {myusername}
sudo userdel ubuntu
sudo passwd
Resize file system to fill the SD card (reboot required)
sudo /usr/local/sbin/resize_rootfs.sh
sudo reboot now
Login with new user and update OS
sudo apt-get update
sudo apt-get upgrade
Set a static IP - This is optional, but recommended so your IP doesn't change
sudo nano /etc/network/interfacesadd something like (update for your network range)
auto eth0
iface eth0 inet static
  address 192.168.0.64
  network 192.168.0.0
  netmask 255.255.255.0
  gateway 192.168.0.1
Reboot
sudo reboot nowAt this point I unplugged the monitor and keyboard and SSH'd into the Pine from another computer, leaving only a the power cord and LAN cable plugged into the Pine.
ssh {myusername}@192.168.0.64Step 3 - Add a USB HDD and make it mount on boot (if present)
Unless you plan to store your media on the SD card, you will probably want to plug in a nice big USB HDD to store all your videos and music. I had a spare portable HDD that was formatted in FAT32. I hit a few stumbling blocks with getting this going, but depending on what storage you use, this might be easier/harder.
First issue I hit is the Pine doesn't have enough power in the USB port for an external HDD, I could have opted for a USB Stick or powered external HDD, but I found a USB Y cable which has 2 USB plugs, one for power, the other for data. Once the drive had extra juice, it spun up with no problems.
Check what file system type your drive uses
sudo blkidIn my case the USB HDD was "/dev/sda1" and using type "exfat". ExFAT requires some extra packages so...
sudo apt-get install exfat-fuse exfat-utilsCreate a mount folder and add to fstab to automount on boot
sudo mkdir /mnt/usbhdd
sudo chown -R {myusername}:{myusername} /mnt/usbhdd
sudo chmod -R 0777 /mnt/usbhdd
sudo nano /etc/fstab
Add something like this to your fstab file substituting device name (/dev/sda1) and type (exfat) with your details from above.
/dev/sda1 /mnt/usbhdd exfat nofail,auto,noatime,rw,user 0 0Test the mount
sudo mount -a
df -h
Step 4 - Setup some shares
To make it nice and easy to copy your media onto the HDD without having to unplug it, we'll setup some samba shares so we can copy stuff to our sever over the network.
Install SAMBA
sudo apt-get install sambaAdd your USB drive as a share
sudo cp /etc/samba/smb.conf /etc/samba/smb.conf.BACKUP
sudo echo "" > /etc/samba/smb.conf
sudo nano /etc/samba/smb.conf
Add something like this to your smb.conf file
# Global parameters
[global]
	workgroup = HOME
	netbios name = SAMBA
	server string = Samba Server %v
	map to guest = Bad User
	log file = /var/log/samba/log.%m
	max log size = 50
	socket options = TCP_NODELAY SO_RCVBUF=8192 SO_SNDBUF=8192
	preferred master = No
	local master = No
	dns proxy = No
	security = User
	unix extensions = no

# Share
[usbhdd]
	path = /mnt/usbhdd
	valid users = {myusername}
	read only = No
	create mask = 0777
	directory mask = 0777
	follow symlinks = yes
	wide links = yes
Set a samba password and restart samba
sudo smbpasswd -a {myusername}
sudo /etc/init.d/samba restart
Test the share from another a computer. Eg in Windows, open file explorer and go to \\192.168.0.64, you should see your 'usbhdd' share, double click and you should be prompted for your username and password
Create some folders for your media. Eg. 'movies', 'tv', 'photos', 'music' - This ensures your shares are writeable.
This is probably a good time to copy some media into these folders too so Plex has something to scan.
Step 5 - Install Plex Media Server
Full credit goes to the guys over in this thread for making this so simple!
sudo su -
apt-get install apt-transport-https
wget -O - https://dev2day.de/pms/dev2day-pms.gpg.key | apt-key add -
echo "deb https://dev2day.de/pms/ jessie main" >/etc/apt/sources.list.d/pms.list
dpkg --add-architecture armhf
apt-get update
apt-get install binutils:armhf
apt-get install --no-install-recommends plexmediaserver-installer
Step 6 - Access the Plex web interface
Go to http://192.168.0.64:32400/manage/index.html (update your IP as required) in your browser and you should be greated with Plex. Yay! If you have an existing plex account login, otherwise register a new account.
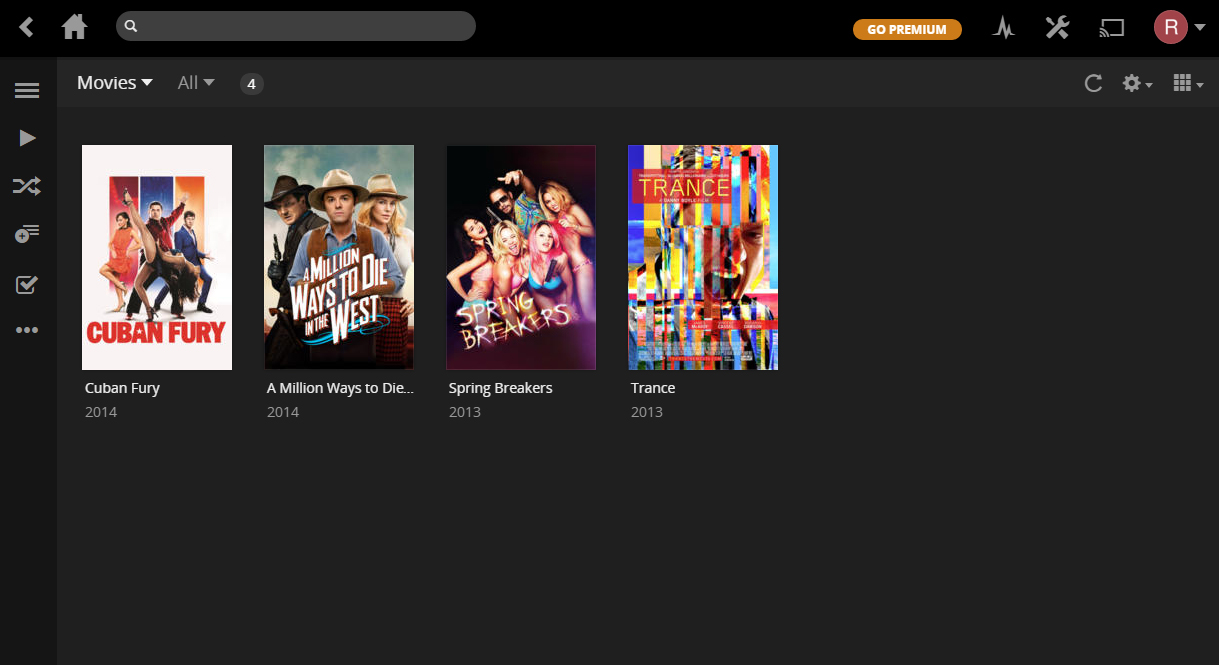
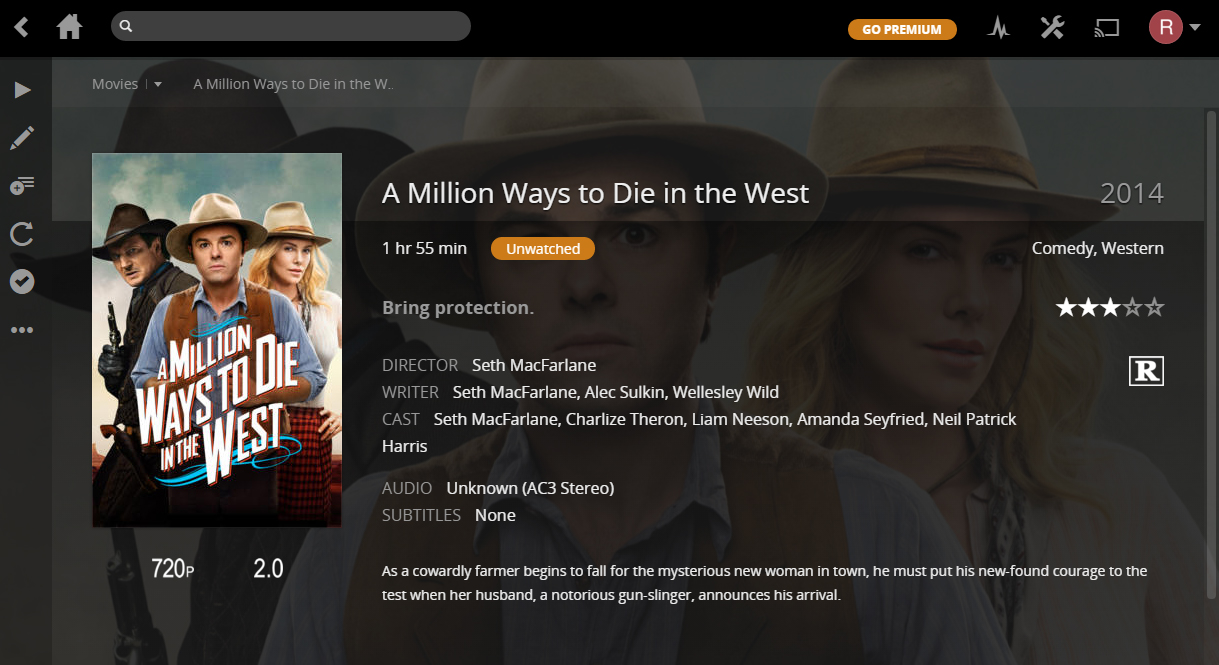
You can then add your media folders, Click "Add library", select the type (eg movies), select the location (eg /mnt/usbhdd/movies) & done. Plex should start scanning the folder and adding things to your library. Once some media starts appearing in the library, click to play and you should see it start playing in the browser.
There is plenty of settings to explore, checkout the Plex docs for more info on those. This is also probably a good point to find some Plex clients for other devices around the house.
Start binge watching!
Update - Web interface transcoding
Thanks to Anders for pointing this out. The Pine64 does struggle with transcoding in some instances due to its lack of power. I didn't initially notice this as most of my media doesn't require transcoding (already x264) but when attempting to play an xvid via the web interface (which did require transcoding), I got the message "Server is not powerful enough" and the video does not play.
Thankfully others have experienced this issue with the Raspberry Pi and found a method to at least give the server a chance to transcode. Check out this guide for the full writeup. Essentially it requires making the web interface javascript always think the server is powerful enough which is done by slightly altering one function.
Bonus Step - Monitor performance on your Pine64
Want to check on the health of your Pine64, there is a great web app for that, it is based on RPi-Monitor for the Raspberry Pi.
sudo apt-get install wget
wget http://kaiser-edv.de/tmp/4U4tkD/install-rpi-monitor-for-a64.sh
sudo chmod +x install-rpi-monitor-for-a64.sh
./install-rpi-monitor-for-a64.sh
Then visit http://192.168.0.64:8888/index.html
Pictures